Object Detection in Images and Videos using Python, OpenCV and YOLOv3
Contents
tl;dr: It’s surprisingly easy to use a pretrained model for Object Detection in Images or Videos.
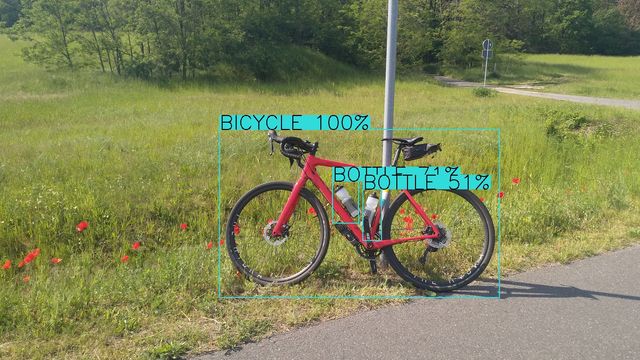
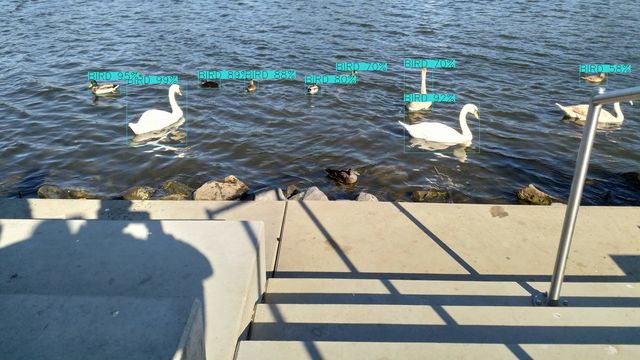
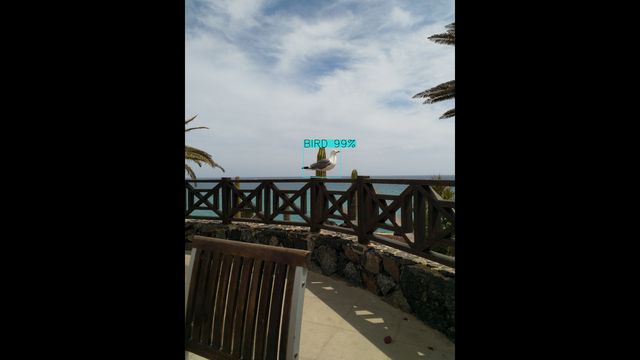
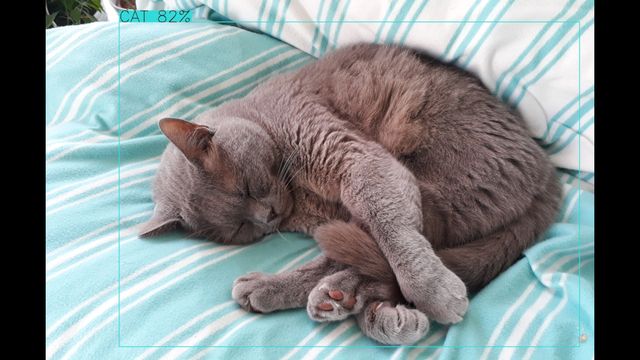
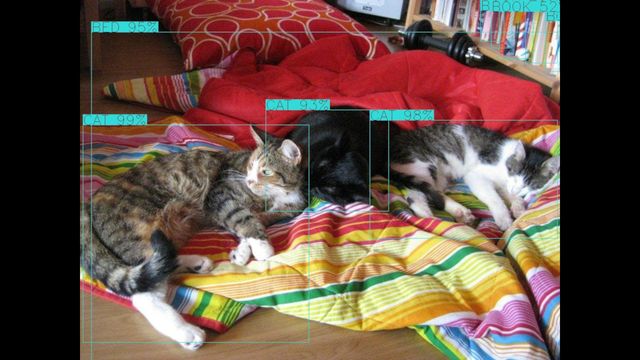
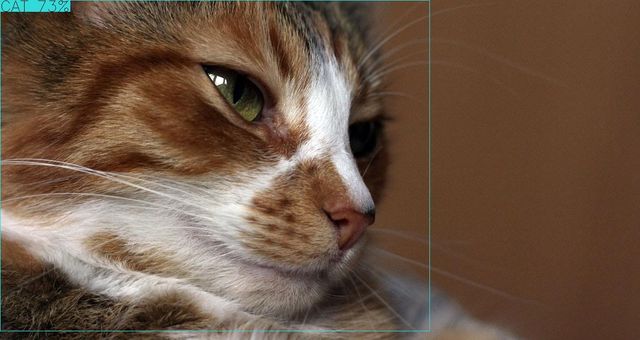
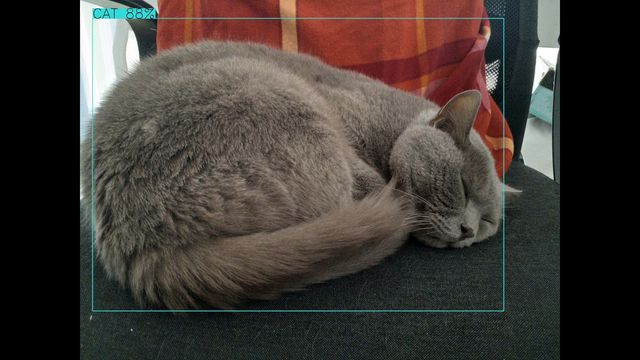
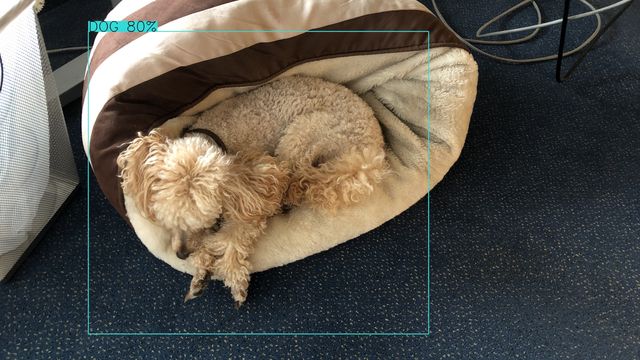
This post shows how to find cats or dogs or birds or whatever in an Image or Video.
From one of my projects I had a spare Raspberry Pi 4 and a camera lying around which desperately needed some sense in life. As I always wanted to try out on my own how easy or hard it is to detect objects in an Image or Video I started to dig into this world.
Luckily there are quite great tutorials available online and also some pretrained models you can use. My first idea was to use the ssd_mobilenet_v2_coco model1 which is provided by tensorflow. As many other models it uses the COCO2 dataset which contains 80 different object classes (e.g. cat, dog, toothbrush) that can be detected by it. Later I found the YOLOv33 model which has a similar size but provides a better scaling for different devices by setting the spatial size. This allows us to use the same model on both a small Raspberry and a normal computer with different detection rates
The world of Python also offers several computer vision frameworks of which I picked OpenCV4 for a first proof of concept. You can find all code I show here as a complete working example on Github5 and I’d suggest that you clone this repository and play a bit with the scripts.
How does this work?
Honestly? I’m not 100% sure, how the YOLOv3 model detects those images but it works :) So let me come straight to the code…
The YOLOv3 model requires two files to work: the weights and the configuration. Furthermore I added a txt file which contains the mapping from the numeric detections to the actual names (e.g. 2 for cat).
We can then use cv2.dnn.readNet(...) to read the model and make it usable. The model requires us to pass a single image for detection and then returns an array with all detected objects. If you want to process a video, you have to pass each single frame.
To increase the accuracy, just change the modelSize to an higher value but this will also cost a lot of performance. On the YOLO website you can find an table with different examples.
blob = cv2.dnn.blobFromImage(image, self.scale, (self.modelSize, self.modelSize), (0, 0, 0), True, crop=False)
self.model.setInput(blob)
retval = self.model.forward(self.get_output_layers(self.model))
for out in retval:
  for detection in out:
    scores = detection[5:]
    class_id = np.argmax(scores)
    confidence = scores[class_id]
detection[0] and detection[1] contain the X and Y position of the detected object, detection[2] and detection[3] are the width and height. All those values have a range of 0..1 so you’ll need to multiply them with the image width or height to get pixel values.
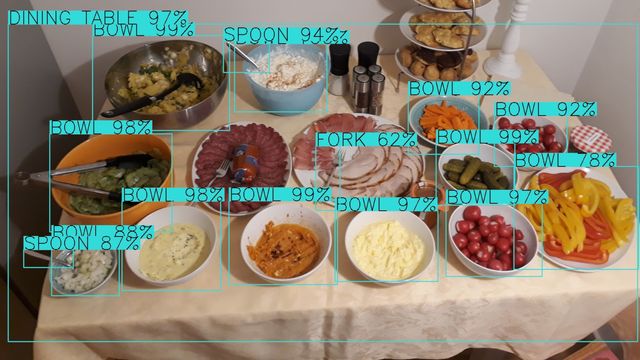
With those information you should now be able to draw a bounding box around the object and annotate it with a label. I encapsulated all the detection logic into the YoloObjectDetector.py file, a basic output can be found in Output.py.
Footnotes
Gallery
Comments