Integration of Commento into Hugo
Contents
tl;dr: Giving users the opportunity to give feedback on blog posts is important. Although there are many free or inexpensive providers of comment functions, unfortunately data protection is always neglected here.
With the help of Commento it is possible to host your own comment platform and keep only the most necessary data.
Hugo 1 ships with an Disqus template which can be used to provide comment/community functionality to your website2.
Since Disqus has not only a big overhead but also several privacy problems, I want to show you how to integrate the open source comment platform Commento3 into Hugo.
Besides Commento there are several other interesting implementations like the Isso4 written in Python or the very powerful Remark425 written in Go.
Setup
First we need to decide, if we want to host Commento on our own system or use one of the plans6. If you opt for a plan, you can skip this section and proceed with the integration.
Otherwise I’d recommend to use the official Commento docker image to simplify the setup. Even with an additional PostgreSQL container, you’ll need less than 100mb memory for Commento in complete.
The official documentation7 demonstrates how to start Commento using plain docker and docker-compose.
All configurations can be made via environment variables8, whereby only COMMENTO_ORIGIN (your server’s hostname) and COMMENTO_POSTGRES (PostgreSQL URI) are required.
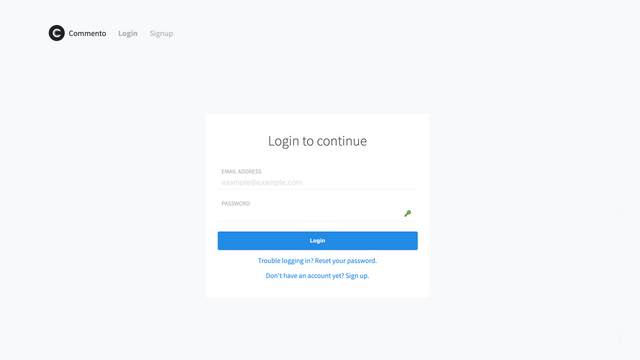
If you now spin up the Commento Container, you can access the dashboard on http://YOUR-COMMENTO-HOST:PORT/dashboard and register an admin user.
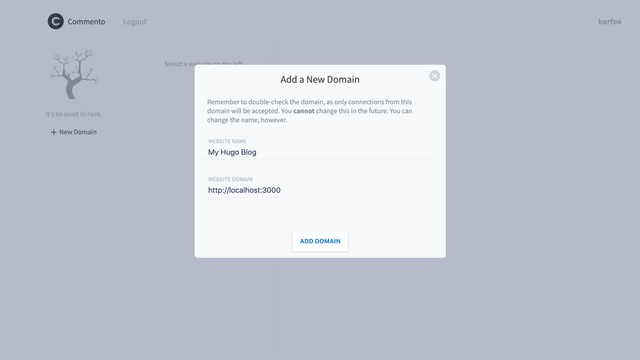
You can add multiple sites to commento which can all have unique configuration.
Security advise: by now everybody with access to the dashboard can register a new user and add domains. It is highly recommended to stop the docker container at this point, disable further registrations in the dashboard by setting the COMMENTO_FORBID_NEW_OWNERS variable to true and then restart the container:
environment:
  COMMENTO_FORBID_NEW_OWNERS: "true"
Use a reverse proxy to restrict access
If you have the possibility to run a reverse proxy (e.g. NGinx) before Commento, then you can easily restrict the access to the endpoints necessary for public users (add as a goodie add some caching headers).
Unfortunately there is no complete list of necessary paths, but the commento gitlab is a good entry point9.
  location ~ ^/(css/commento.css|js/commento.js)$ {
    # the css and js file can be cached
    expires modified 365d;
    proxy_pass http://COMMENTO_HOST:PORT;
  }

  location ~ ^/(api/(commenter|comment|page|oauth))/ {
    proxy_pass http://COMMENTO_HOST:PORT;
  }

  location / {
    satisfy any;

    # e.g. add ip whitelist here
    allow W.X.Y.Z
    deny all;

    # e.g. add basic auth here
    auth_basic            "Restricted";
    auth_basic_user_file  /some/htpasswd;

    proxy_pass http://COMMENTO_HOST:PORT;
  }
Integration into Hugo
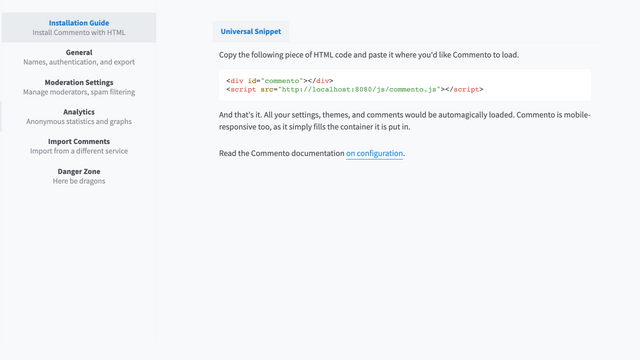
Now that we have a Commento instance running and accessible, it’s quite easy to integrate it into our sites. We need to add a div with the id commento and include the provided javascript. If you login to the dashboard, Commento also provides a copy and paste section for this.
As I wanted to be a bit more flexible and use different Commento hosts depending on the environment (e.g. a local instance for development), I added a the following paragraph to Hugo’s config.yaml:
Params:
  comments:
    commento:
      host: https://your-commento-host
      js: /js/commento.js
Now we can reference the properties and only add the required parts, if everything is configured as expected:
{{/* Only include commento if it's configured */}} {{ if and (isset
$.Site.Params.comments.commento "host") (isset $.Site.Params.comments.commento
"js") }}
<section id="comments-section-js" class="e-section">
  <h2 class="e-section-headline">Comments</h2>
  <div class="content__tile content__tile-content">
    <div id="commento"></div>
  </div>
</section>
{{ end }}
The Javascript goes to the end of our page (just before </body>):
{{/* Only include commento if it's configured */}} {{ if and (isset
$.Site.Params.comments.commento "host") (isset $.Site.Params.comments.commento
"js") }}
<script
  defer
  src="{{ $.Site.Params.comments.commento.host }}{{ $.Site.Params.comments.commento.js }}"
></script>
{{ end }}
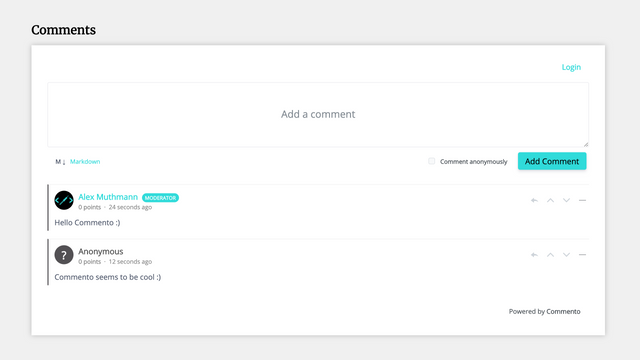
When you open the page now, you should see Commento initialized using it’s default styling.
Custom Styles
Commento allows us to override it’s styles using a custom css which is configured using data-css-override10. Another (probably easier way) is to include some custom css into your common css file and don’t bother with the lazy loading triggered by Commento. Of course you can also use the build-in pipelines of hugo to generate a specific css file if required.
<script
  defer
  src="http://commento.example.com/js/commento.js"
  data-css-override="http://example.com/my-custom-styling.css"
></script>
No matter which way you choose, the easiest way is to aim for the id commento in addition to the css class commento-root and thus get a higher specificity for our rules (otherwise we’d need to add a lot of !important modifier):
// use ID to increase specificity of selector
// otherwise we would need !important for all rules
#commento.commento-root {

  // fix https://gitlab.com/commento/commento/issues/206
  * {
    font-family: inherit;
    text-transform: none;
  }

  // your styles here
}
With some basic rules, the layout should easily adjust to your page layout.
Lazy Initialization (optional)
By default Commento initializes the comments section automatically, even if it’s not inside the view. You can add a bit of Javascript and utilize the Intersection Observer API11 to observe, if the Commento div comes into the viewport.
As soon as this happens, we can call the window.commento.main() function to initialize Commento.
First we need to disable auto-init:
<script
  defer
  src="http://commento.example.com/js/commento.js"
  data-auto-init="false"
></script>
And than add the observer:
/**
 * Lazy-Loader for the comments section
 */
const observer = new IntersectionObserver(commentsSectionIntersecting);

/**
 * Called when the element comes into view
 */
function commentsSectionIntersecting(entries) {
  entries
    .filter(e => e.isIntersecting)
    .forEach(e => {
      window.commento.main();
      observer.unobserve(e.target);
    });
}

document.addEventListener("DOMContentLoaded", function() {
  // we only need to observe anything, if there is a commento element on the page
  const commentsElem = document.getElementById("commento");
  if (commentsElem) {
    if (typeof window.commento.main !== "undefined") {
      observer.observe(commentsElem);
    } else {
      // if commento is not available, we remove the comments section
      commentsElem.parentNode.removeChild(commentsElem);
    }
  }
});
Footnotes
Gallery
Comments