PCB Boards for MySensors Nodes
Contents
When I last worked with Atmel Microcontrollers in the early 2000s, it was simply unpayable to produce small batches of custom PCBs. Nowadays it’s hard to get an overview of all the companies that offer either prototype boards or small batches.
Furthermore is the software by this time very advanced and the myriads of online tutorials make it easy to design simple and more complex circuits.
In this post I’d like to show some of the PCBs I created and ordered and of the process to this.
Design and order a PCB
Before ordering PCB you need to create the Schema and Board in an EDA1 software. I already had some experience with EAGLE2 so it was my weapon of choice but you can also have a look at KiCad3 as an Open Source alternative.
The next step is to decide, which PCB manufacturer you want to choose. I placed two orders so far, one came from the USA (OSH Park4) and one from China (DirtyPCBs5).
OSH Park offers free shipping (worldwide) and a fair price of 5$ per square inch (effective 08/2017) for 3 PCBs. From order to delivery it took around 20 days.
DirtyPCB is much cheaper, you can get 10 PCBs in 5 x 5 cm for less than 12$ (effective 08/2017) but need to pay for shipping. The cheapest option is Hong Kong Post Airmail (1-8 weeks), I made the mistake and payed 20$ for DHL express. The order took less then 2 weeks to arrive which was awesome but I had to pay an additional 20€ to DHL for some weird “Kapitalauslegungsprovision. If your board is smaller than 5x5cm, you can add multiple Boards and get them panelized.
Both manufacturers delivered a nice quality and it’s a cool feeling to hold your first own PCB in hands ;)
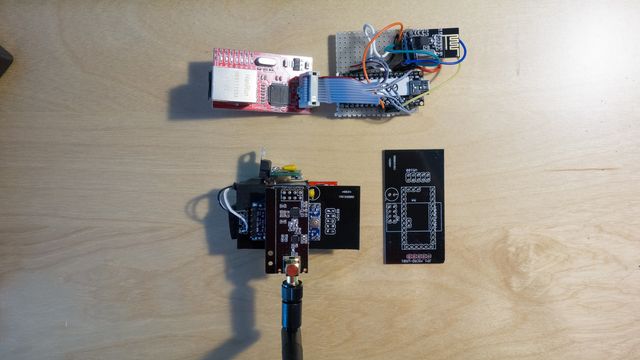
MySensors Ethernet Gateway
The first PCB I ordered and received is for a MySensors Ethernet Gateway6, which is also the most complex one as it uses both upper and lower side of the PCB.

Aside from a Arduino Pro Mini (3.3V) you need a wireless transmitter (NRF24l01) and a W5100 ethernet shield. To reduce the footprint I decided to place the ethernet shield below the actual PCB.
Depending on the requirements you can either use a normal NRF24l01 or the PA/LNA version with external antenna. In this case you also need a small additional board with a LM1117 Regulator which provides enough power for the NRF24l01.
In the background you can see my first prototype of the gateway.
MySensors Environment Sensor (BMP280/BME280)
To measure temperature, air pressure and optionally humidity the Bosch BMP2807 / BME2808 sensors are quite useful. They are available as breakout boards with either 4 or 6 pins for around 6 Euro (BMP280).
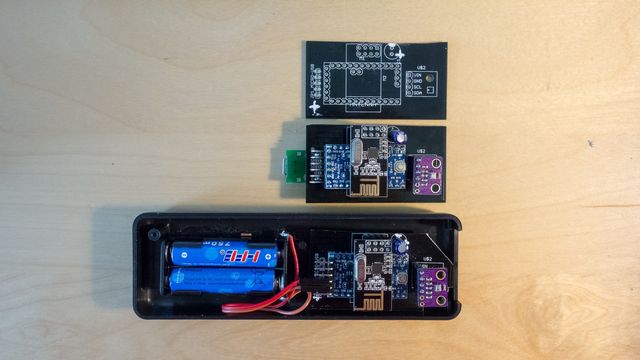
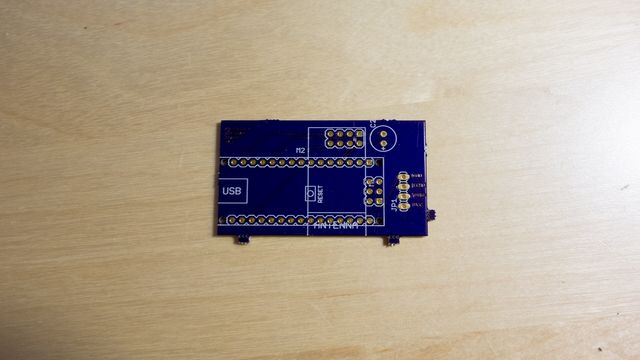
The PCB is designed to be used with a USB powered Arduino Pro Mini (3.3V) but can also be used with 2 AA or AAA batteries.
In this case simply the VCC is directly attached to the Arduino which runs fine with < 3.3V. To enhance the battery lifetime you might want to have a look at running it with 1Mhz only.
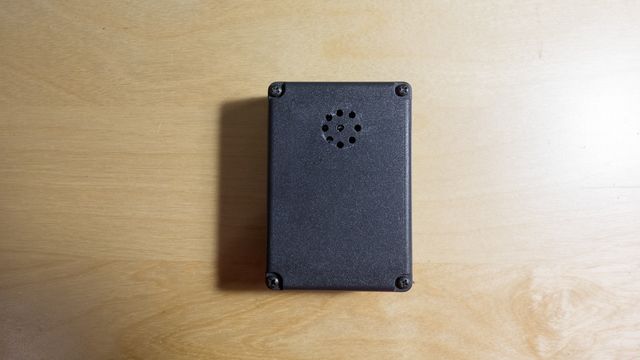
Below you can see another example for a temperature nodes using a small ABS case.
I made some modifications to the original MySensors Arduino Sketch9 which add the possibility to measure the current battery voltage: PressureSensor-BMP280.ino.
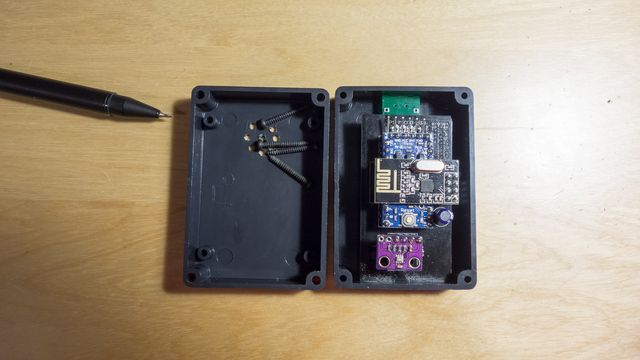
MySensors Distance Sensor
For my balcony watering system I needed a distance sensor to measure the tankfilling and stop the pump if required.
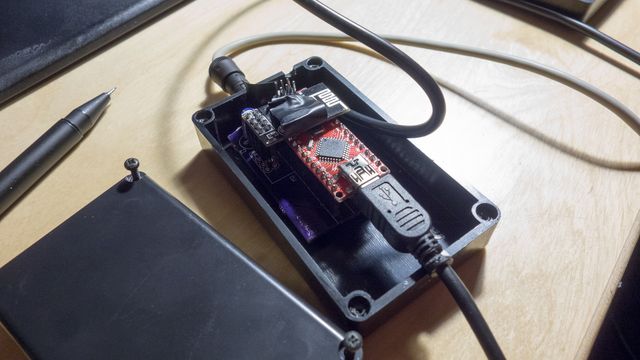
This PCB uses a Arduino Nano instead of the Pro Mini and therefore does not require an external USB connector.
I mounted the board into a ABS case and added a external connector for the distance sensor.
A small additional feature is the waterproof DS18B20 temperature sensor which is used to measure the temperature of the water tank.
You can find both sketches on Github: DistanceSensor.ino and DistanceSensor-DS18B20.ino.
Footnotes
Gallery
Comments